sonarqube分析azure專案
在使用地端 SonarQube 分析 Azure 專案時,遇到了一些問題,紀錄一下處理的方式備忘
開放主機連線
地端 SonarQube 需要能夠連線到 Azure DevOps,因此需要請網管設定開放連線
Azure DevOps
建立 Personal Access Token
Azure DevOps 需要建立一個 PAT (Personal Access Token) 並且設定正確的權限
Ref:Azure DevOps integration
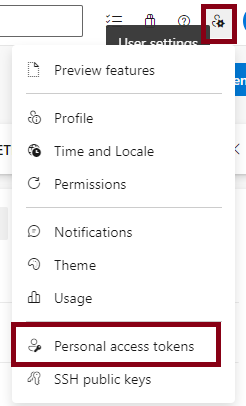
權限的部分只需要 Code 區塊的 Read / Write,至於為甚麼需要 Write,嗯,官網說的。有人知道可以告訴我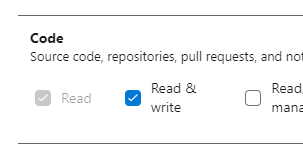
SonarQube
遠端主機設定 Git 代理
因為遠端主機並不能直接連外網,所以需要透過 proxy,這邊是直接設定 git 的 proxy
1 | #設置代理 |
在這個部分會先透過 git clone 測試一下,網址採用的是 PAT 的方式,這樣是為了可以在 jenkins 去抓 repo
SonarQube 主機需支援專案的 Framework
就是專案用到 .net8,所以需要裝一下,這個看狀況而定
Ref:Download .NET8
SonarQube 主機下載 JDK 17 給分析工具使用
我試過了 sonarscanner.zip 下載執行,但他根本不掃 C# 的檔案;因此分析專案用的是 SonarScanner for .NET
我在這邊選擇的是 dotnet tool install --global dotnet-sonarscanner 這個方式去使用,而該工具目前最新版本需要 JDK 17
到Java SE 17 Archive Downloads下載Windows x64 Compressed Archive後,解壓縮到指定目錄,我是解壓縮到D:\java\jdk-17.0.11
Ref:
SonarQube 設置 Azure DevOps 資訊
假設你的 azure 組織叫做 MYORG,網址是 https://dev.azure.com/MYORG,就像這樣填寫即可,而剛剛產生的PAT也在這邊填入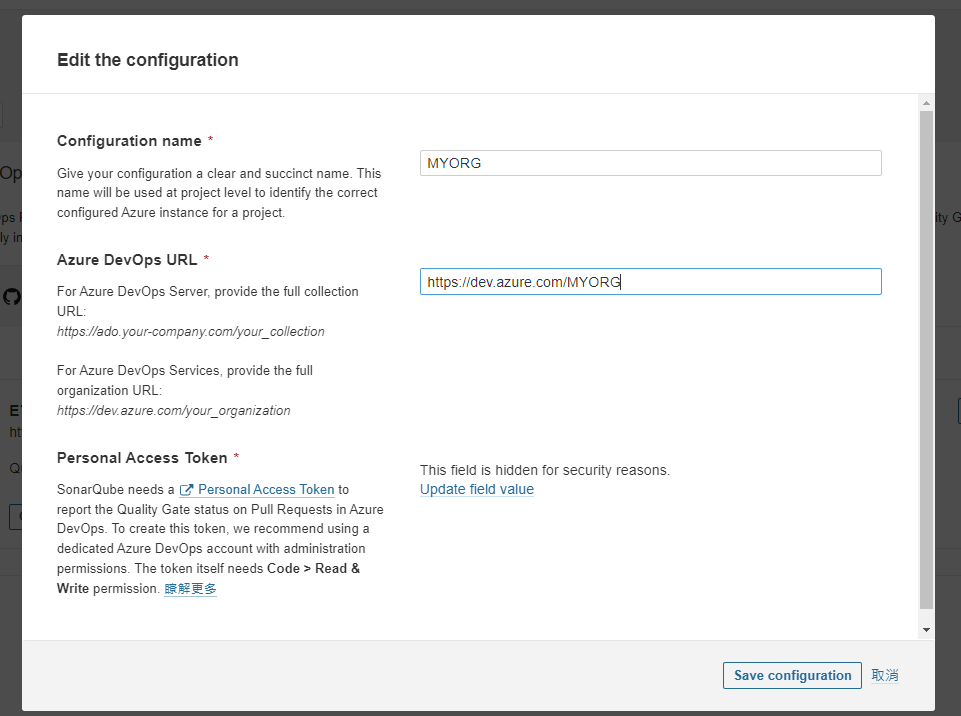
設定完成後,可以看到下方按鈕檢查結果是綠色可用的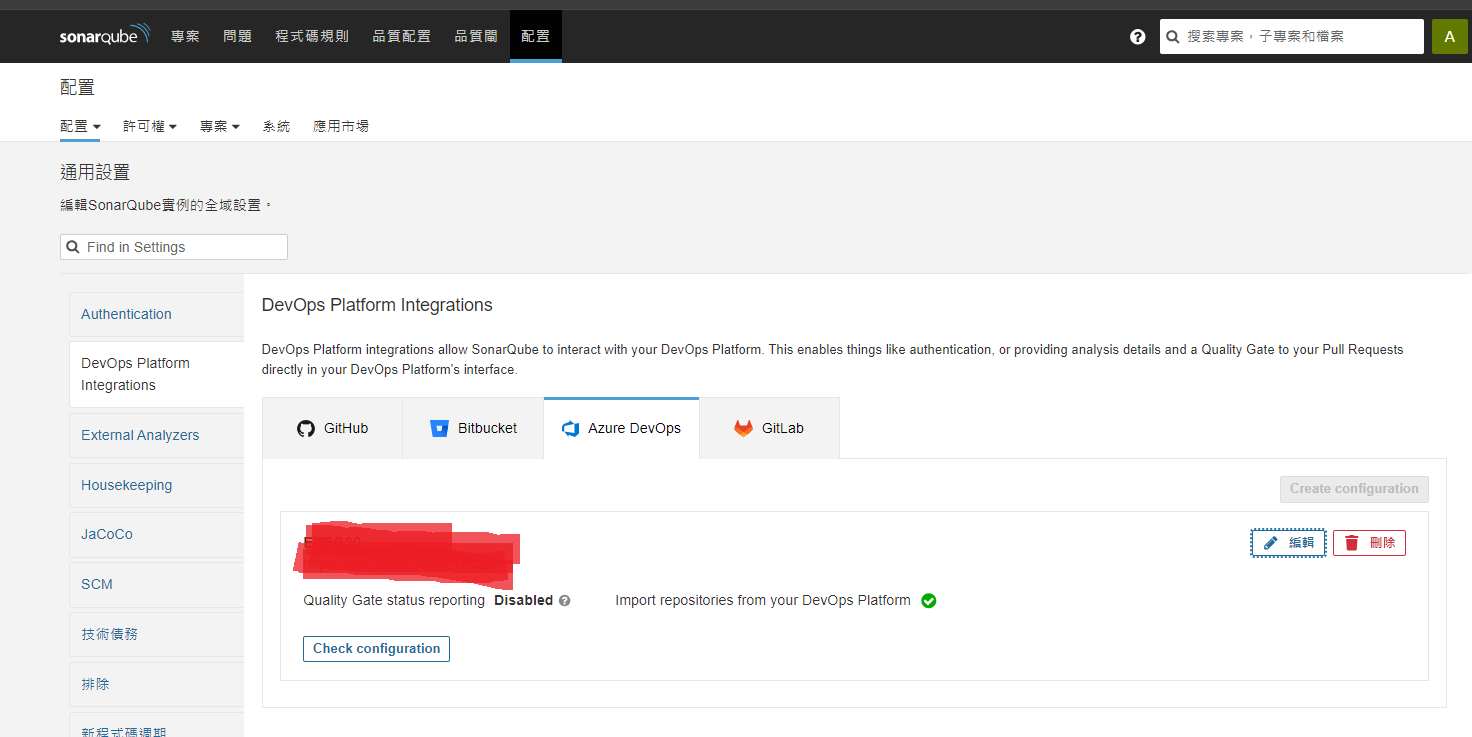
Jenkins
新增 credentials
密碼填入 PAT,帳號隨意,ID 取名好記的,例如 my-azure-project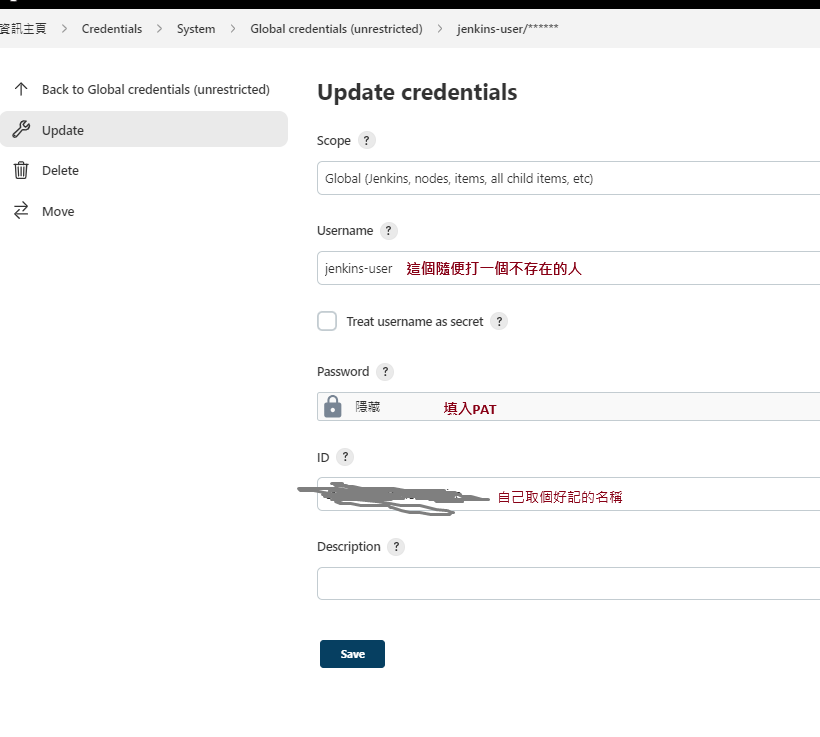
建立 Jenkins 專案
參數都是假的,主要就是 azure repo 的網址, credentialsId 用剛剛新增的
Branch 可以用參數化的方式,這樣就可以在 jenkins 上選擇要分析的分支
sonarqube.bat 是分析專案的 bat 檔,後面會提到
1 | node('windows-node-sonarqube') { |
分析專案
建立 SonarQube 分析專案
選擇 From Azure DevOps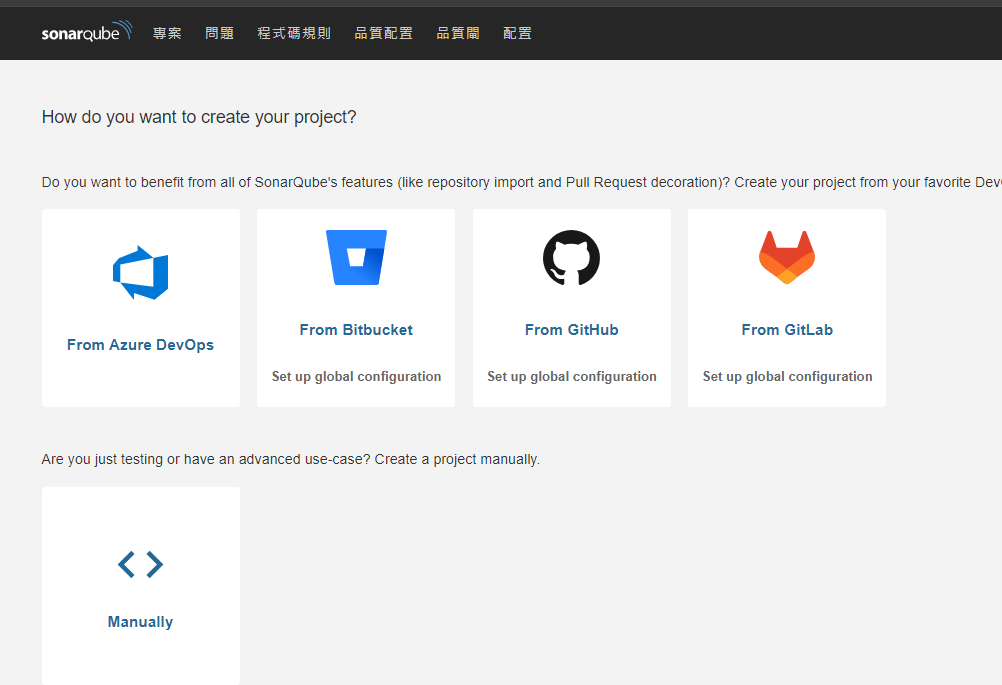
然後就挑你的目標專案,很抱歉這邊我碼的亂七八糟,因為是公司專案,但大概意思就是這樣,選擇完畢後右上角會有個 Set up selected repository,點下去到下一步驟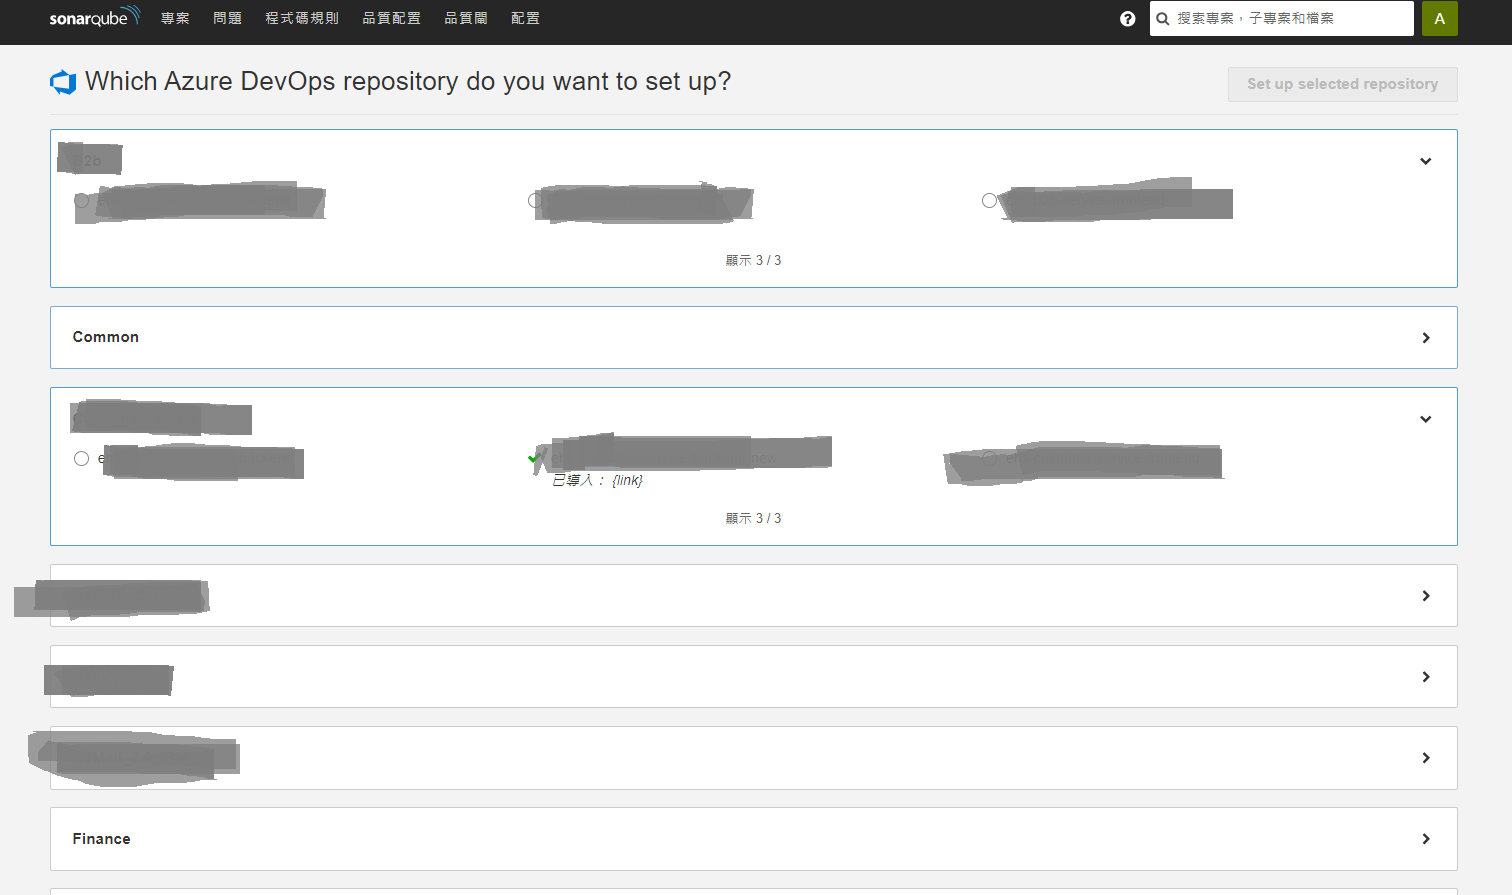
接著就是問怎麼分析,選擇本地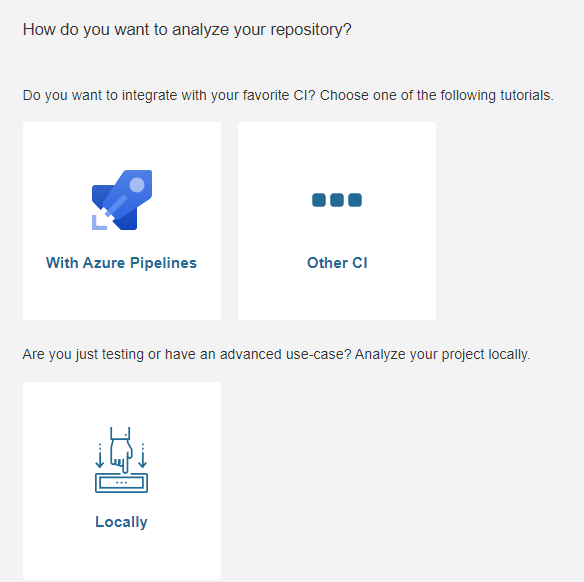
接下的步驟就跟本地專案差不多,就不再贅述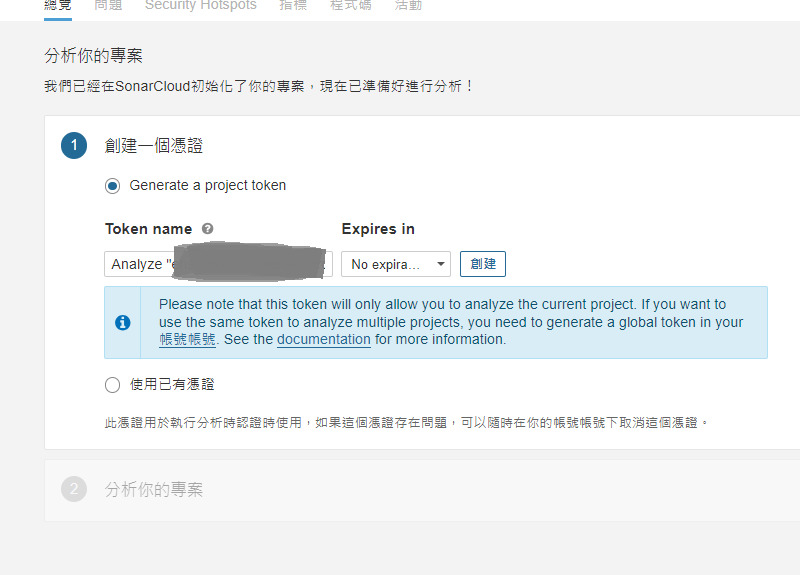
分析指令
這個是分析的指令,為了方便測試寫成 bat,之後可以改成 jenkins groovy script 就把他拆開即可,主要是為了主機上的切換 java 版本而採用這樣的方式,專案的 key 還有參數都是假的,請自行替換,專案 key 可以在 SonarQube 專案頁面看到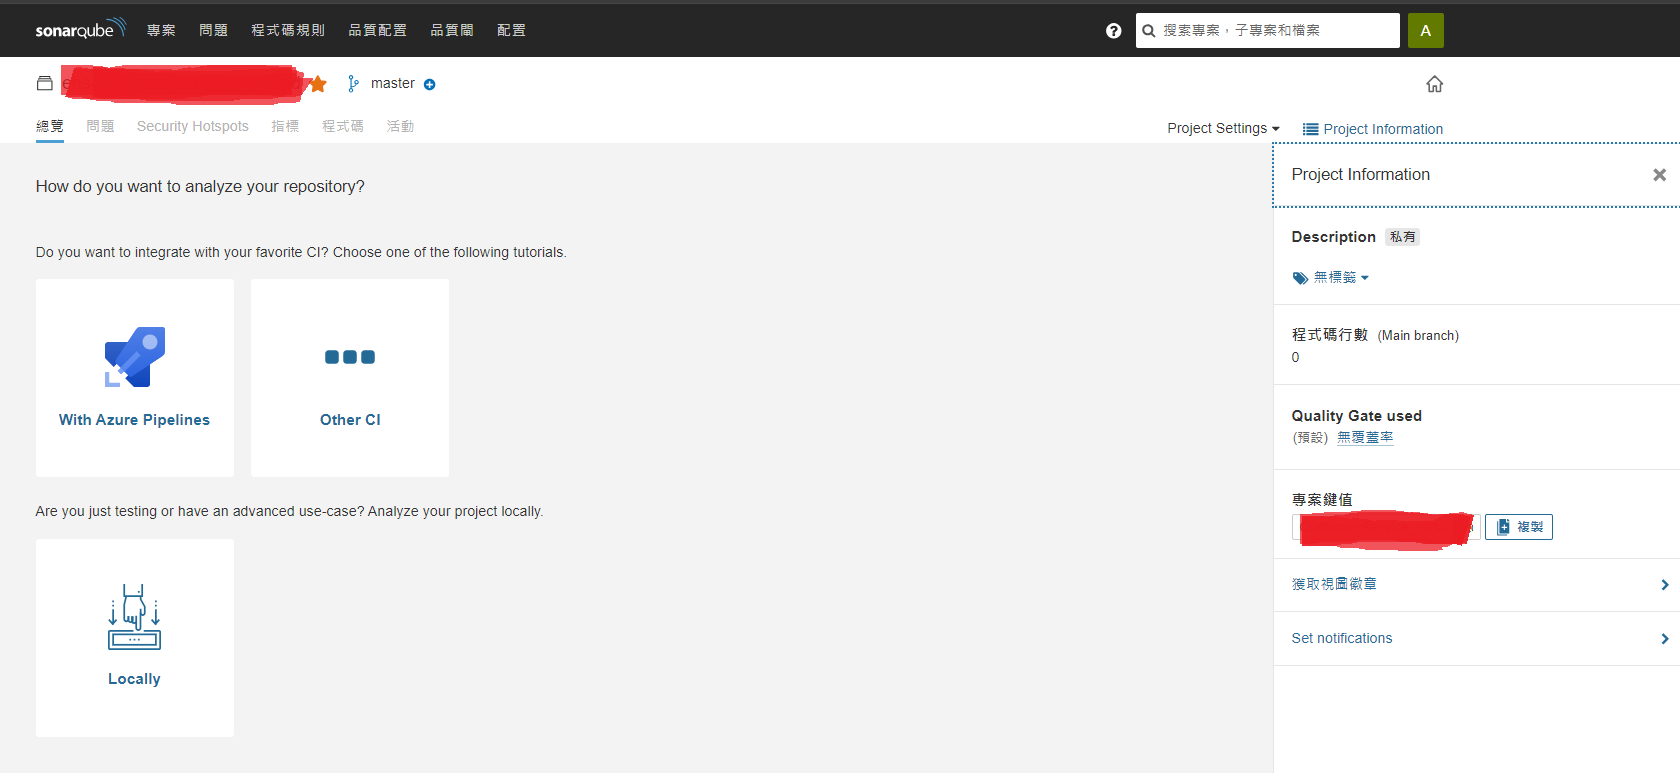
1 | @echo off |
遠端主機複製 submodule
因為專案有 submodule,又因為不能直接連線,我這邊是直接把本地專案的 submodule 複製到遠端主機,雖然不是正確的方式,但是能用