使用oh-my-posh美化指令列工具-powershell, windows terminal
常常看到一些網站有人使用美美的指令列工具,並且能夠提示當前 repo 的分支,甚至是.NetCore 版本,就覺得很酷,現在來分享一下如何在 Windows 使用指令列也能夠做到美美的提示。
最新消息是 oh-my-posh 已經不再直接支持 powershell,本篇的作法已經過時
Intro
這篇文章主要是根據Scott Hanselman的部落格文章My Ultimate PowerShell prompt with Oh My Posh and the Windows Terminal來做的,原文非常的詳細,有興趣的人可以自行前往閱讀
Windows Terminal
原本我所採用的工具列為cmder,但是使用上感覺好像越來越慢了,而且在一些自訂的部分也都要去查文件,也有點複雜,所以也趁這次機會改用了很多人都推薦的Windwos Terminal,不僅快速而且也整合了 powerShell、命令提示字元還有 WSL 的 Shell,整個就是很方便,而且很喜歡它的設定有中文語系
font
首先我們從powershell開始修改,第一步就是先下載Nerd Font的字型檔案,否則安裝完畢之後有可能會因為字型的關係畫面還是無法正常顯示
Caskaydia Cove Nerd Font Complete
下載字型解壓縮,並逐一右鍵安裝字體即可,另外一篇文章也有提到可以使用FiraCode
terminal font
接著我們可以在 Windows Terminal 的設定去選擇我們所要使用的字型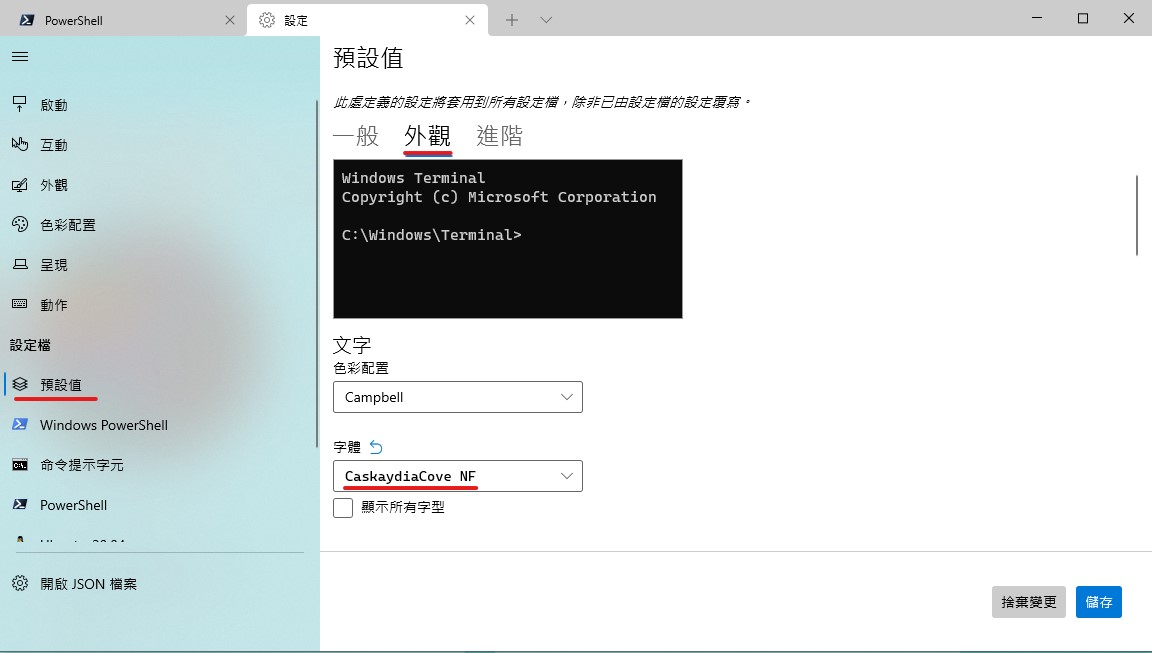
install oh-my-posh in PowerShell
接下來就是安裝oh-my-posh
1 | Install-Module oh-my-posh -Scope CurrentUser |
安裝完畢之後可以列出所有的 theme ,挑一個喜歡的用就可以了
1 | Get-PoshThemes |
我比較喜歡 paradox,所以接下來直接設定讓 powershell的提示套用paradox主題
1 | Set-PoshPrompt -Theme paradox |

但是這樣子必須手動每次開啟,因此我們就可以利用 powershell的設定檔,讓他每次開啟的時候都先執行一次就可以了
如果你的電腦當中並沒有這個設定檔,可以透過下面的指令建立
1 | if (!(Test-Path -Path $PROFILE)) { |
接著可以透過記事本或其他編輯器修改
1 | notepad $PROFILE |
而內容就直接將剛才手動設置主題的指令打在裡面就可以了
1 | Set-PoshPrompt -Theme paradox |

另外也可以額外安裝圖示,讓powershell的檔案顯示更漂亮
1 | # 安裝指令 |
1 | # $PROFILE 設定檔內容 |
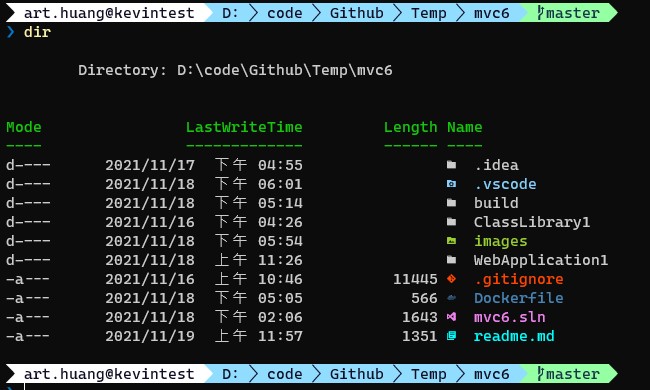
設定完畢之後,不管是使用 Windows Terminal或是VSCode開啟 Terminal,都能夠顯示oh-my-posh的 Theme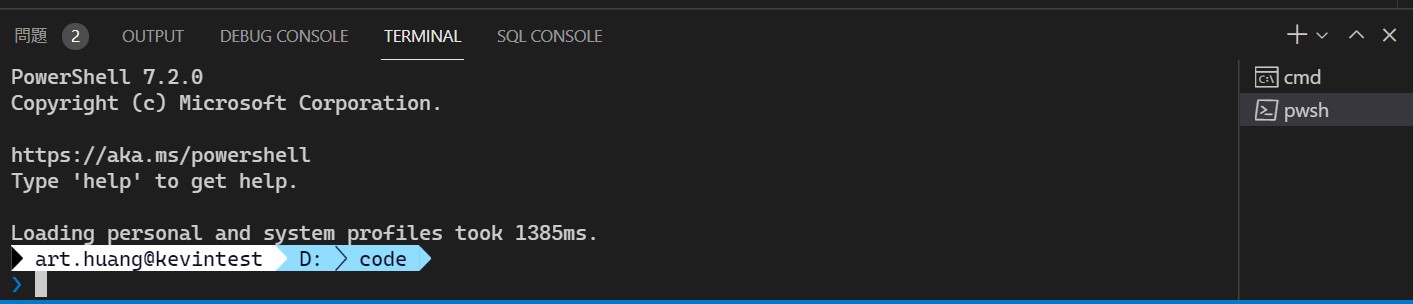
是不是很漂亮啊
install oh-my-posh in windows terminal
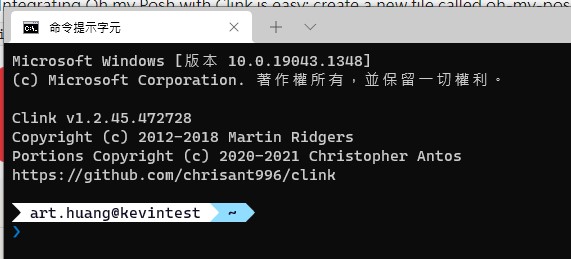
如果是要讓 Windows 的命令提示字元也套用oh-my-posh主題的話,我們還需要額外安裝clink,下載安裝檔並進行安裝
然後透過winget安裝 oh-my-posh,直接在命令提示字元輸入下列指令
1 | winget install JanDeDobbeleer.OhMyPosh |
接著我們去找到oh-my-posh的主題設定 json 檔案路徑,這個路徑我們可以透過剛剛的powershell去找到本機路徑
1 | Get-PoshThemes -list |
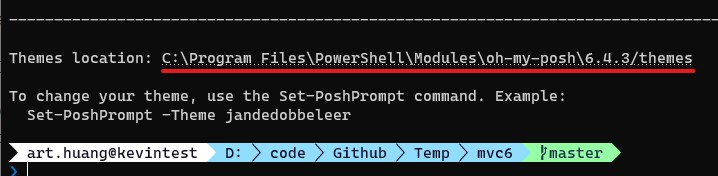

當然你也可以從官網看到,Windows 安裝的路徑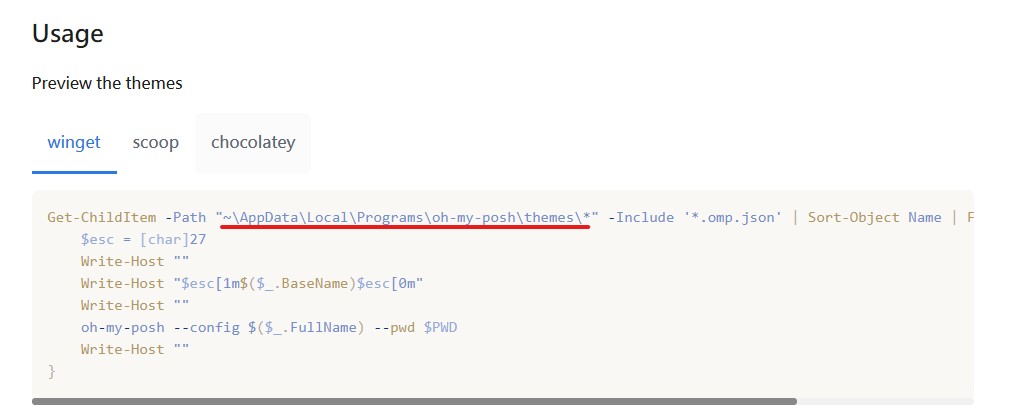
然後依照官網給出的指令,並將當中的 json 路徑替換成自己要用的主題,存成oh-my-posh.lua並且將它放置於clink的scripts目錄即可
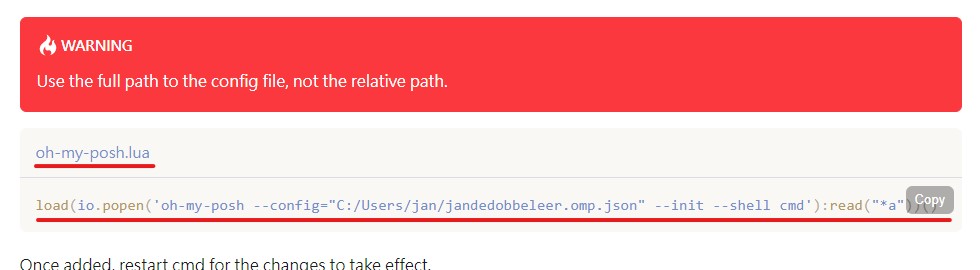
Clink的Scripts目錄可在命令提示字元輸入clink info查詢
1 | load(io.popen('oh-my-posh --config="C:/Users/art/AppData/Local/Programs/oh-my-posh/themes/paradox.omp.json" --init --shell cmd'):read("*a"))() |
將上面的指令儲存在Clink的Scripts目錄後就完成了
Command History
在文章後面,Scott Hanselman 也給出了 CLI IntelliSense 的參考連結及設定
指令輸入的歷史紀錄也能透過選單的方式呈現並選擇,如果你是依照上面一步步做下來,那麼輸入
1 | Get-Module |
應該會看到已經安裝好了 PSReadLine,而支援 ListView 的版本是 2.2.0-beta1 以上,所以我們需要先升級一下
1 | Update-Module -Name PSReadLine -AllowPrerelease |
如果碰到Update-Module: Module 'PSReadLine' was not installed by using Install-Module, so it cannot be updated.的錯誤訊息的話,就需要將powershell關閉,然後使用命令提示字元去執行重新安裝的指令
1 | <path-to-pwsh-executable> -noprofile -command "Install-Module PSReadLine -Force -SkipPublisherCheck -AllowPrerelease" |

接著回到powershell確認版本就會發現已經安裝到最新版了
在powershell輸入下列指令
1 | # 啟用歷史紀錄 |
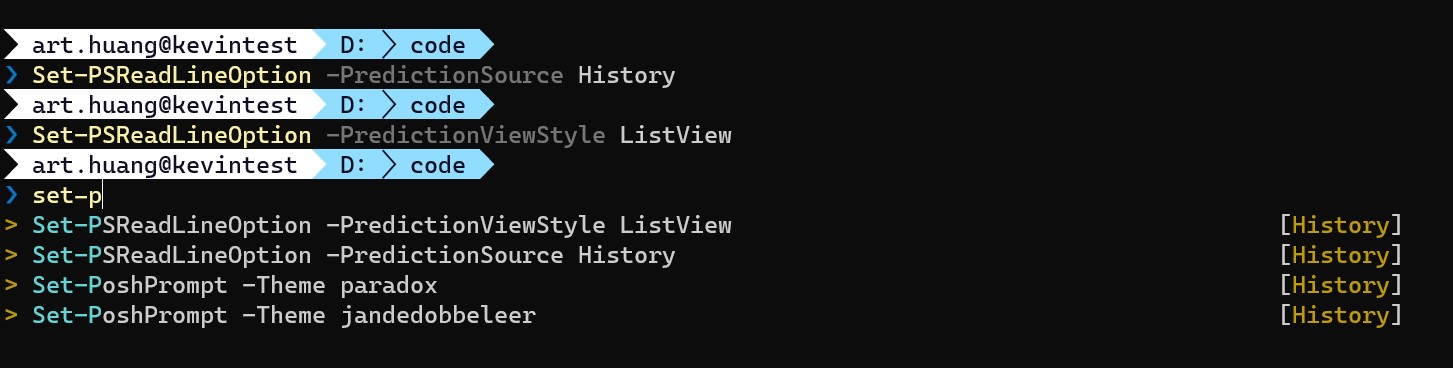
這兩行加入$PROFILE就可以每次開啟powershell就一起執行了
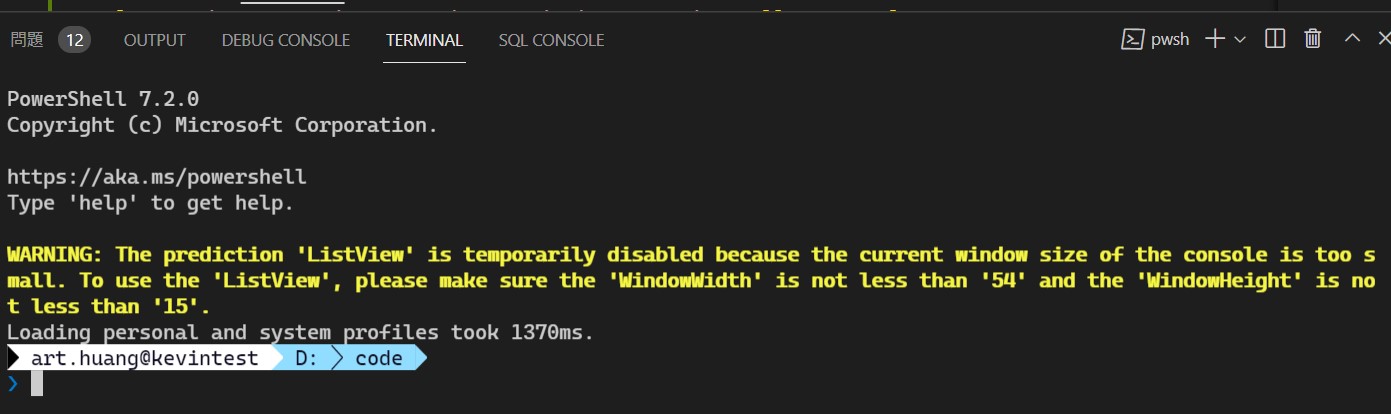
但如果是在 VSCode 的 Terminal 使用的話,可能會出現警告訊息,因為用 ListView 的話有最小的高度、長度限制,否則無法正確顯示,這個時候可以用F2切換回原本的歷史紀錄 Intellisens
想知道PSReadLine的一些使用方法可以看一下這兩篇文章,寫得蠻詳細的我就不贅述了
- PowerShell - PSReadLine 2.1, PSReadLine 2.2 + Predictive IntelliSens
- Announcing PSReadLine 2.1+ with Predictive IntelliSense
Reference
- My Ultimate PowerShell prompt with Oh My Posh and the Windows Terminal
- 使用 oh-my-posh 美化 PowerShell 樣式
- PowerShell 7.2:關於設定檔
- Adding Predictive IntelliSense to my Windows Terminal PowerShell Prompt with PSReadline
- PowerShell - PSReadLine 2.1, PSReadLine 2.2 + Predictive IntelliSens
- Upgrade of the PSReadLine fails due that The version ‘2.0.0’ of module ‘PSReadLine’ is currently in use. #644
- Announcing PSReadLine 2.1+ with Predictive IntelliSense
- PSReadLine 2.2.0-beta4